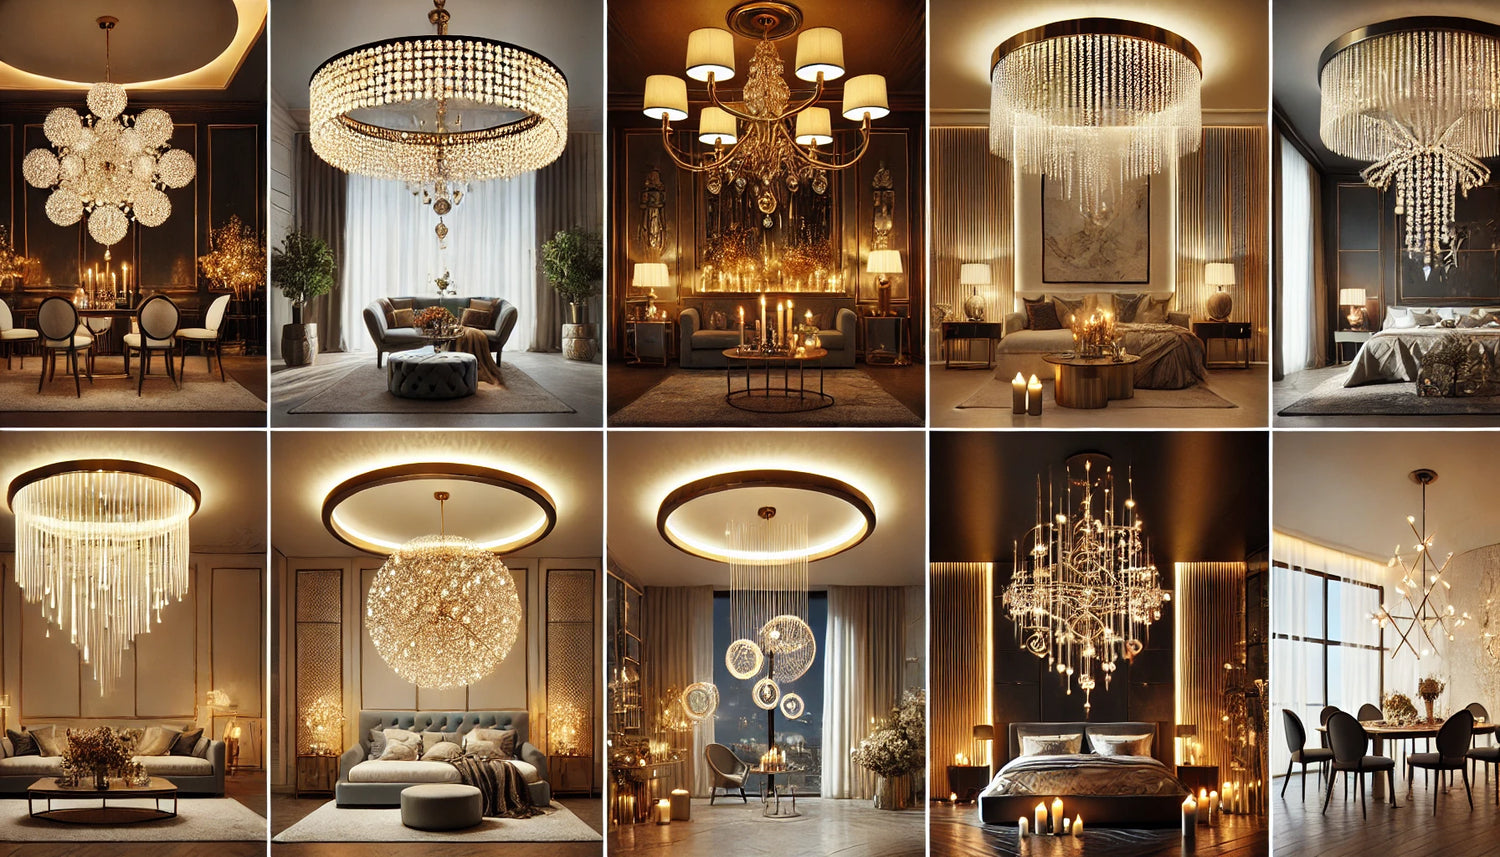
If you want to elevate your space’s ambiance without breaking the bank, DIY chandelier hacks are your answer. Chandeliers, once thought to be reserved for opulent homes, are now accessible to anyone with a creative touch.
Whether you want to repurpose existing materials, add flair to a budget-friendly find, or create a chandelier from scratch, this guide will help you transform your space with stunning lighting fixtures that won’t cost a fortune.
Why Choose DIY Chandeliers?
- Affordability: DIY projects let you achieve a luxurious look for a fraction of the cost of high-end chandeliers.
- Customization: Personalize your chandelier to match your style and the theme of your space.
- Sustainability: Upcycle materials and reduce waste while creating something unique.
- Satisfaction: There’s nothing quite like admiring a piece you’ve built yourself.
Also, read - Choosing LED Chandeliers: Benefits, Styles, and Tips
Materials You Can Use for DIY Chandeliers
Here are some affordable materials that make excellent chandelier bases or embellishments:
- Embroidery hoops: Perfect for circular chandeliers.
- Wire baskets: Add structure and industrial vibes.
- String lights: Great for a whimsical or modern aesthetic.
- Mason jars: Ideal for rustic or farmhouse-style lighting.
- Beads or crystals: To mimic the sparkle of a luxury chandelier.
- Plastic spoons, cups, or cutlery: Surprisingly chic when arranged creatively.
- Ribbons, tassels, or fabric scraps: For soft, boho-inspired looks.
Also, read - Industrial Chandeliers: Adding an Urban Touch to Your Interiors
Step-by-Step DIY Chandelier Ideas
- Boho Beaded Chandelier
- What You Need: Embroidery hoops, beads, twine, and a light socket kit.
- Steps:
- Attach the beads to strings of twine.
- Secure the strings around an embroidery hoop in a cascading design.
- Add additional hoops if you want a layered effect.
- Attach the light socket kit, ensuring it’s securely fastened.
- Hang the chandelier in your space.
Why It Works: This DIY project blends bohemian charm with elegance. The cascading beads mimic the look of pricier chandeliers while remaining easy on your wallet.
Also, read - Rustic and Farmhouse Style Chandeliers to Enhance Your Home Decor
- Industrial Pipe Chandelier
- What You Need: Steel or PVC pipes, connectors, light bulbs, and paint.
- Steps:
- Design the chandelier layout by connecting pipes into your desired shape.
- Spray-paint the pipes in metallic or matte black for an industrial finish.
- Attach the light bulbs and connect the wiring (consult an electrician if needed).
- Mount the fixture securely to the ceiling.
Why It Works: The industrial aesthetic is highly popular, and using pipes gives the piece a unique, edgy look.
Also, read - Chandelier Ideas for High-Ceilinged Spaces
- Upcycled Mason Jar Chandelier
- What You Need: Mason jars, a wooden plank, light sockets, and wiring.
- Steps:
- Drill holes in the wooden plank to fit the light sockets.
- Screw the mason jar lids to the plank.
- Insert light bulbs into the jars and secure them with the lids.
- Hang the chandelier using chains or rope.
Why It Works: Mason jars add a rustic charm to kitchens, dining rooms, or outdoor spaces. This hack is both cost-effective and visually appealing.
Also, read - Common Chandelier Installation Mistakes and How to Avoid Them
- Whimsical Fairy Light Chandelier
- What You Need: A wire wreath frame, fairy lights, and ribbons.
- Steps:
- Wrap the fairy lights around the wire wreath frame.
- Tie ribbons to the frame for added texture and color.
- Suspend the chandelier using sturdy string or chain.
Why It Works: This is a simple yet magical option for bedrooms, nurseries, or outdoor patios.
Also, read - Chandelier Buying Guide - Everything You Need to Know Before You Purchase
- Plastic Spoon Glam Chandelier
- What You Need: Plastic spoons, hot glue, a pendant light kit, and a metal or plastic base.
- Steps:
- Cut the handles off the spoons.
- Glue the spoon heads in a layered pattern onto the base, resembling flower petals.
- Install the light kit and hang the chandelier.
Why It Works: Plastic spoons can look surprisingly elegant when painted metallic or pastel colors, creating a chic statement piece.
Also, read - How Chandeliers Impact Home Lighting and Aesthetics
Tips for Success
- Plan the Design: Sketch your chandelier before starting to ensure you have a clear vision.
- Use Quality Adhesives: Secure all parts with strong glue or screws for durability.
- Choose the Right Bulbs: Opt for LED bulbs to save energy and keep your chandelier cool.
- Follow Safety Guidelines: If you’re not confident with wiring, seek professional help.
- Experiment with Colors and Textures: Use paint, fabric, or other materials to match your décor.
Also, read - Top Benefits of Investing in a Quality Chandelier
Budgeting for Your DIY Chandelier
While DIY projects are inherently cost-effective, here’s a breakdown of what you might spend:
|
Material |
Estimated Cost |
|
Light socket kit |
$10–$20 |
|
Embroidery hoops |
$5–$15 |
|
Beads or crystals |
$10–$30 |
|
Mason jars (set) |
$10–$15 |
|
Spray paint |
$5–$10 |
|
Wire or metal frame |
$10–$20 |
Total costs can range from $30 to $100, depending on the materials and design complexity. Compare this to store-bought chandeliers, which often cost hundreds or even thousands of dollars.
Also, read - Top 10 Modern Chandelier Designs to Elevate Your Space
Where to Display Your DIY Chandelier
- Dining Room: Create a warm, inviting focal point for family meals.
- Living Room: Add a touch of elegance to your main gathering space.
- Bedroom: Install a soft-lit chandelier for a cozy ambiance.
- Outdoor Patio: Brighten up al fresco dining with weatherproof materials.
- Nursery or Kid’s Room: Use fun colors and shapes to make lighting playful.
Also, read - How to Install a Chandelier
Why DIY Chandeliers are a Growing Trend
With the rise of sustainability and personalization in home design, DIY chandeliers have gained immense popularity. They allow homeowners to express their creativity while making eco-friendly choices. Additionally, online platforms like Pinterest and YouTube have made it easier than ever to find inspiration and tutorials.
Also, read - 10 Best Chandeliers for Small Spaces
Final Thoughts
DIY chandelier hacks are an excellent way to upgrade your space on a budget while showcasing your creative skills. With simple materials, a bit of planning, and some elbow grease, you can craft a stunning light fixture that rivals high-end designs. Whether you prefer rustic, industrial, or boho styles, there’s a DIY chandelier project perfect for you.
So, roll up your sleeves and start creating! Your dream chandelier—and an upgraded space—awaits.


