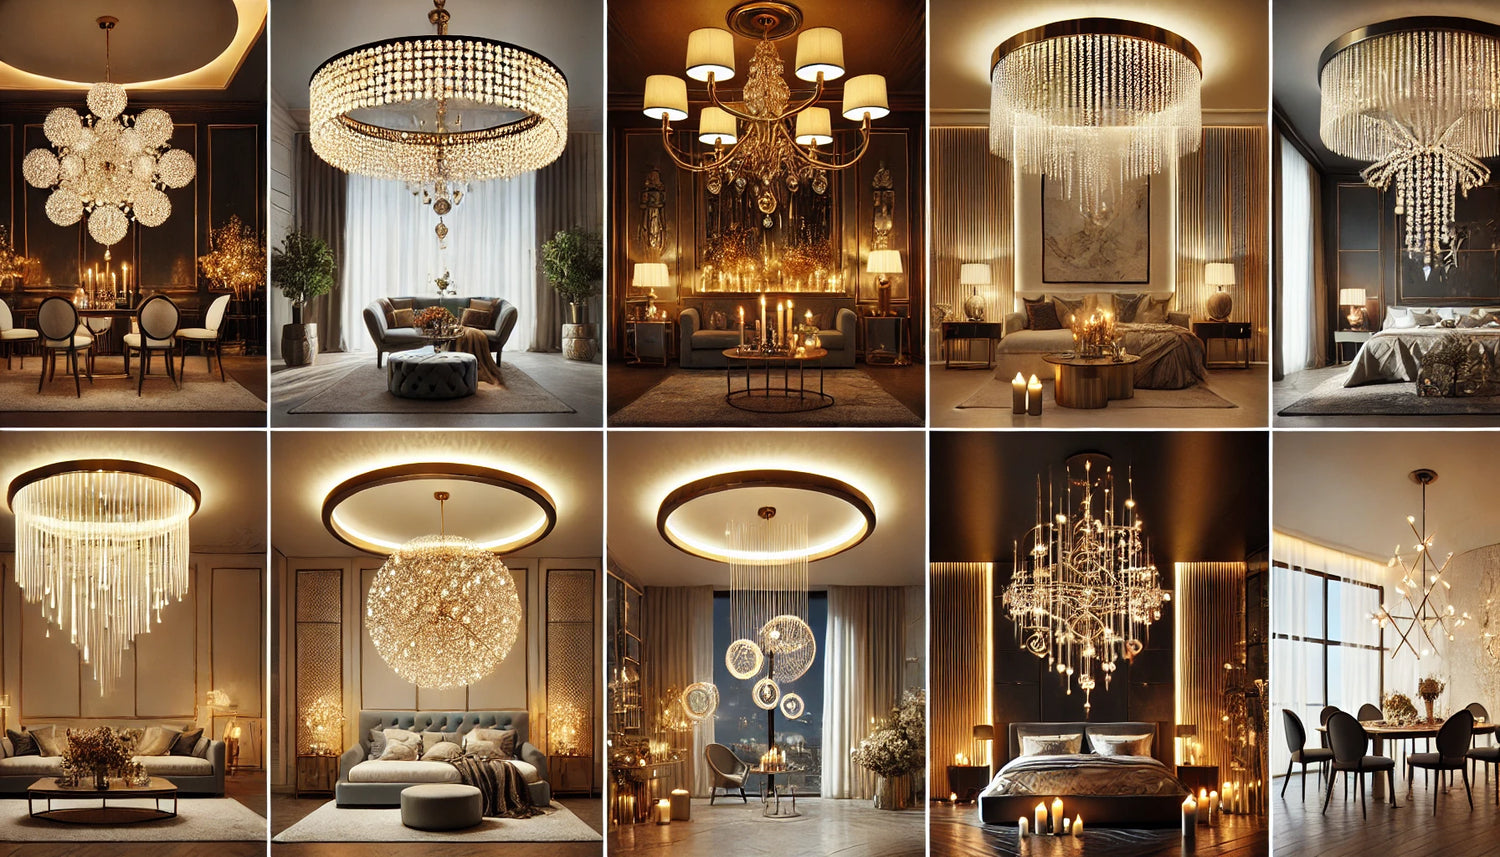
Installing a wall light fixture is a great way to enhance your home’s lighting scheme. Whether you're looking to brighten your bedroom, living room, dining room, or kitchen, wall lights offer versatility and style.
In this guide, we’ll walk you through the steps to install wall lights, ensuring that your new lighting enhances your space while providing practical illumination.
Understanding the Basics of Wall Lights
Before diving into the installation process, it’s essential to understand the different types of wall lights available and their applications.
- Wall Lights: These fixtures are attached directly to walls, offering both ambient and task lighting. They can be used in various rooms, from bedrooms to kitchens, and come in a variety of designs.
- Ceiling Lighting: While wall lights provide horizontal illumination, ceiling lighting can offer overhead brightness. Together, these two types can create a balanced lighting scheme.
- Pendant Lights: Often hung from the ceiling, pendant lights can serve as an excellent complement to wall lighting, particularly in dining and kitchen areas.
- Table Lights: Also known as table lamps, these fixtures can add warmth and charm to a space but do not replace the need for wall or ceiling lighting.
- Outdoor Lighting: When installing lights outside, ensure they are weather-resistant and suitable for outdoor use. Wall lights can enhance your exterior spaces beautifully.
- Bedroom, Living Room, Dining Room, and Kitchen Lighting: Wall lights can play a crucial role in all these spaces, offering layered lighting that can transform the atmosphere of your home.
Also, read - A Complete Guide to Outdoor Chandeliers
Tools and Materials Needed for Installation
Before you start, gather the necessary tools and materials. Here’s a checklist:
Tools:
- Screwdriver (flathead and Phillips)
- Drill
- Stud finder
- Wire stripper
- Level
- Measuring tape
- Pliers
- Safety goggles
Materials:
- Wall light fixture
- Electrical box (if needed)
- Wire connectors
- Electrical tape
- Wall anchors (if mounting on drywall)
- Screws (usually included with the fixture)
Also, read - Chandelier Size Guide: How to Choose the Right Size for Any Room
Step-by-Step Installation Guide
Step 1: Choose the Right Location
- Determine Placement: Decide where you want to install the wall light. Consider the purpose of the light—whether it's for reading, accenting art, or general illumination. Common places include beside a bed in a bedroom, flanking a mirror in a bathroom, or above a console table in a hallway.
- Consider Height: For general lighting, mount the fixture about 60 inches from the floor. If it's for reading or task lighting, lower it to about 48 inches. For spaces like dining rooms or kitchens, ensure it complements the ceiling height and does not obstruct movement.
Step 2: Turn Off Power
Before working with electrical fixtures, safety is paramount.
- Switch Off Power: Locate the circuit breaker and turn off the power to the area where you’ll be installing the wall light. This step is crucial to avoid electrical shocks.
- Test the Circuit: Use a voltage tester to ensure the wires are not live.
Step 3: Mark the Mounting Location
- Find the Studs: Use a stud finder to locate the studs in the wall. Mark the stud locations with a pencil, as these will provide a sturdy anchor for your wall light.
- Mark the Height: Use a level to mark where the top of the fixture will sit. Measure down from this mark to find the exact spot where the fixture will be mounted.
- Drill Holes: If mounting on drywall, drill pilot holes for wall anchors. For installation on studs, drilling directly into the wood is usually sufficient.
Step 4: Install the Electrical Box
- Cut an Opening (if needed): If your wall light requires a new electrical box and one isn’t already installed, cut an opening in the wall to accommodate the box.
- Secure the Electrical Box: Install the box by securing it to the studs with screws. Ensure it’s flush with the wall surface.
Step 5: Wire the Fixture
- Prepare the Wires: Strip about ¾ inch of insulation from the ends of the fixture wires and the house wires using a wire stripper.
- Connect Wires:
- Connect the fixture's black wire to the house’s black wire (hot).
- Connect the fixture's white wire to the house’s white wire (neutral).
- If your fixture has a green or bare wire (ground), connect it to the ground wire in the electrical box.
- Secure Connections: Use wire connectors to secure each connection, ensuring no exposed wires are visible. Wrap the connections with electrical tape for added safety.
Step 6: Attach the Fixture
- Mount the Fixture: Align the fixture with the mounting bracket (if applicable) and secure it with screws.
- Adjust for Level: Use a level to ensure the fixture is straight before tightening the screws completely.
Step 7: Install Bulbs and Shades
- Insert Bulbs: Install the appropriate bulbs as recommended by the manufacturer.
- Attach Shades: If your fixture has shades, carefully attach them according to the manufacturer's instructions.
Step 8: Restore Power
- Turn the Power Back On: Return to the circuit breaker and switch the power back on.
- Test the Fixture: Turn on the wall light to ensure everything is functioning properly.
Step 9: Final Adjustments
- Make Adjustments: If the light isn’t positioned to your liking, make any necessary adjustments to its angle or height.
- Decorate Around the Fixture: Consider how the new wall light fits into your overall design. You might want to add decorative elements around it, like artwork or furniture, to enhance the room's aesthetics.
Also, read - What Are the Disadvantages of Pendant Lights?
Tips for Choosing the Right Wall Light
- Style Matters: Choose wall lights that complement your existing decor. For modern spaces, look for sleek designs; for more traditional rooms, opt for ornate fixtures.
- Consider Functionality: Think about the primary purpose of the light. For reading nooks, adjustable wall lights can provide targeted illumination. In contrast, more ambient options are better for general lighting.
- Pair with Other Lighting: Wall lights work best when layered with other types of lighting. Consider how they’ll fit in with ceiling lighting, pendant lights, and table lights to create a well-lit and inviting atmosphere.
- Safety First: Always prioritize safety when working with electrical fixtures. If you’re unsure at any step, it’s best to consult a professional electrician.
Also, read - Luxury Chandeliers on a Budget
Conclusion
Installing a wall light fixture is a straightforward project that can significantly enhance the ambiance of your home. Whether you choose wall lights for your bedroom, living room, dining room, kitchen, or even outdoor lighting, following these steps will ensure a successful installation. With the right wall lights, you can create a beautiful, well-lit environment that reflects your personal style and meets your functional needs. Enjoy the transformation your new lighting brings!


